Project Cyberia: A custom Raspberry Pi 5 NAS
Off-the-shelf NAS enclosures are usually overpriced and lock you into an ecosystem that restricts what you can actually do. I had the urge to build something totally custom that fit my exact needs, assuming I could engineer my way around the hardware bottlenecks.
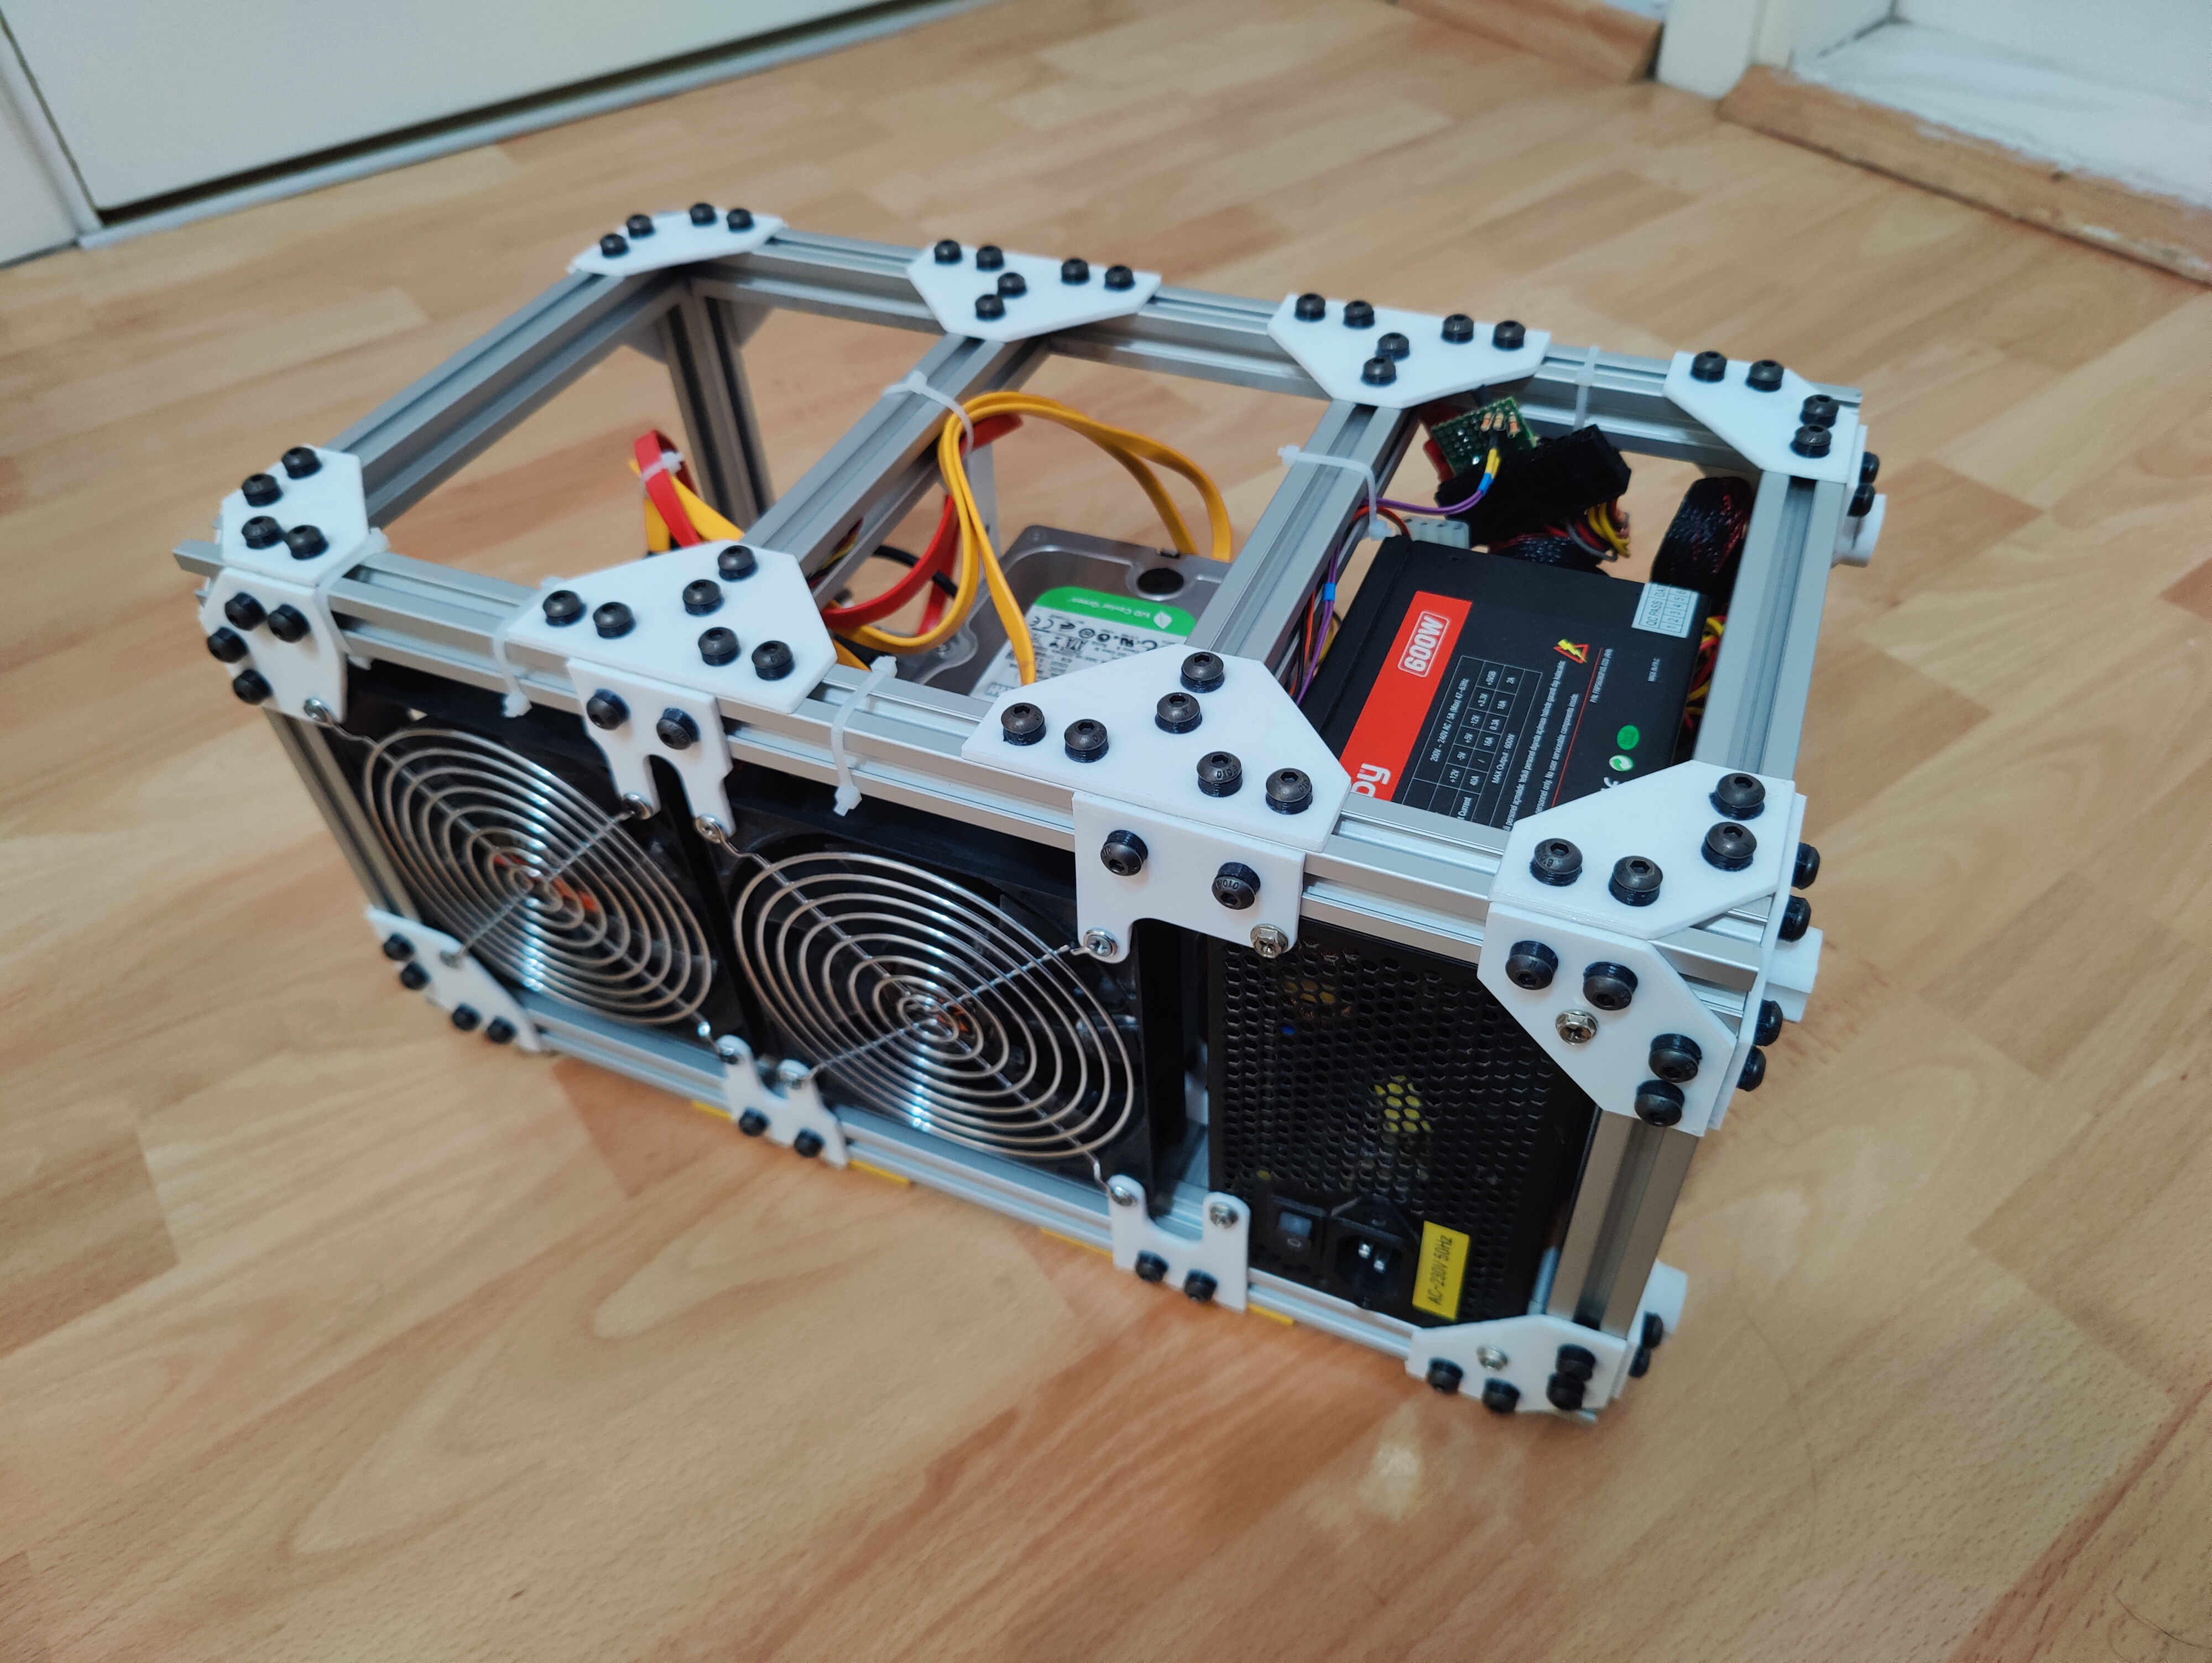
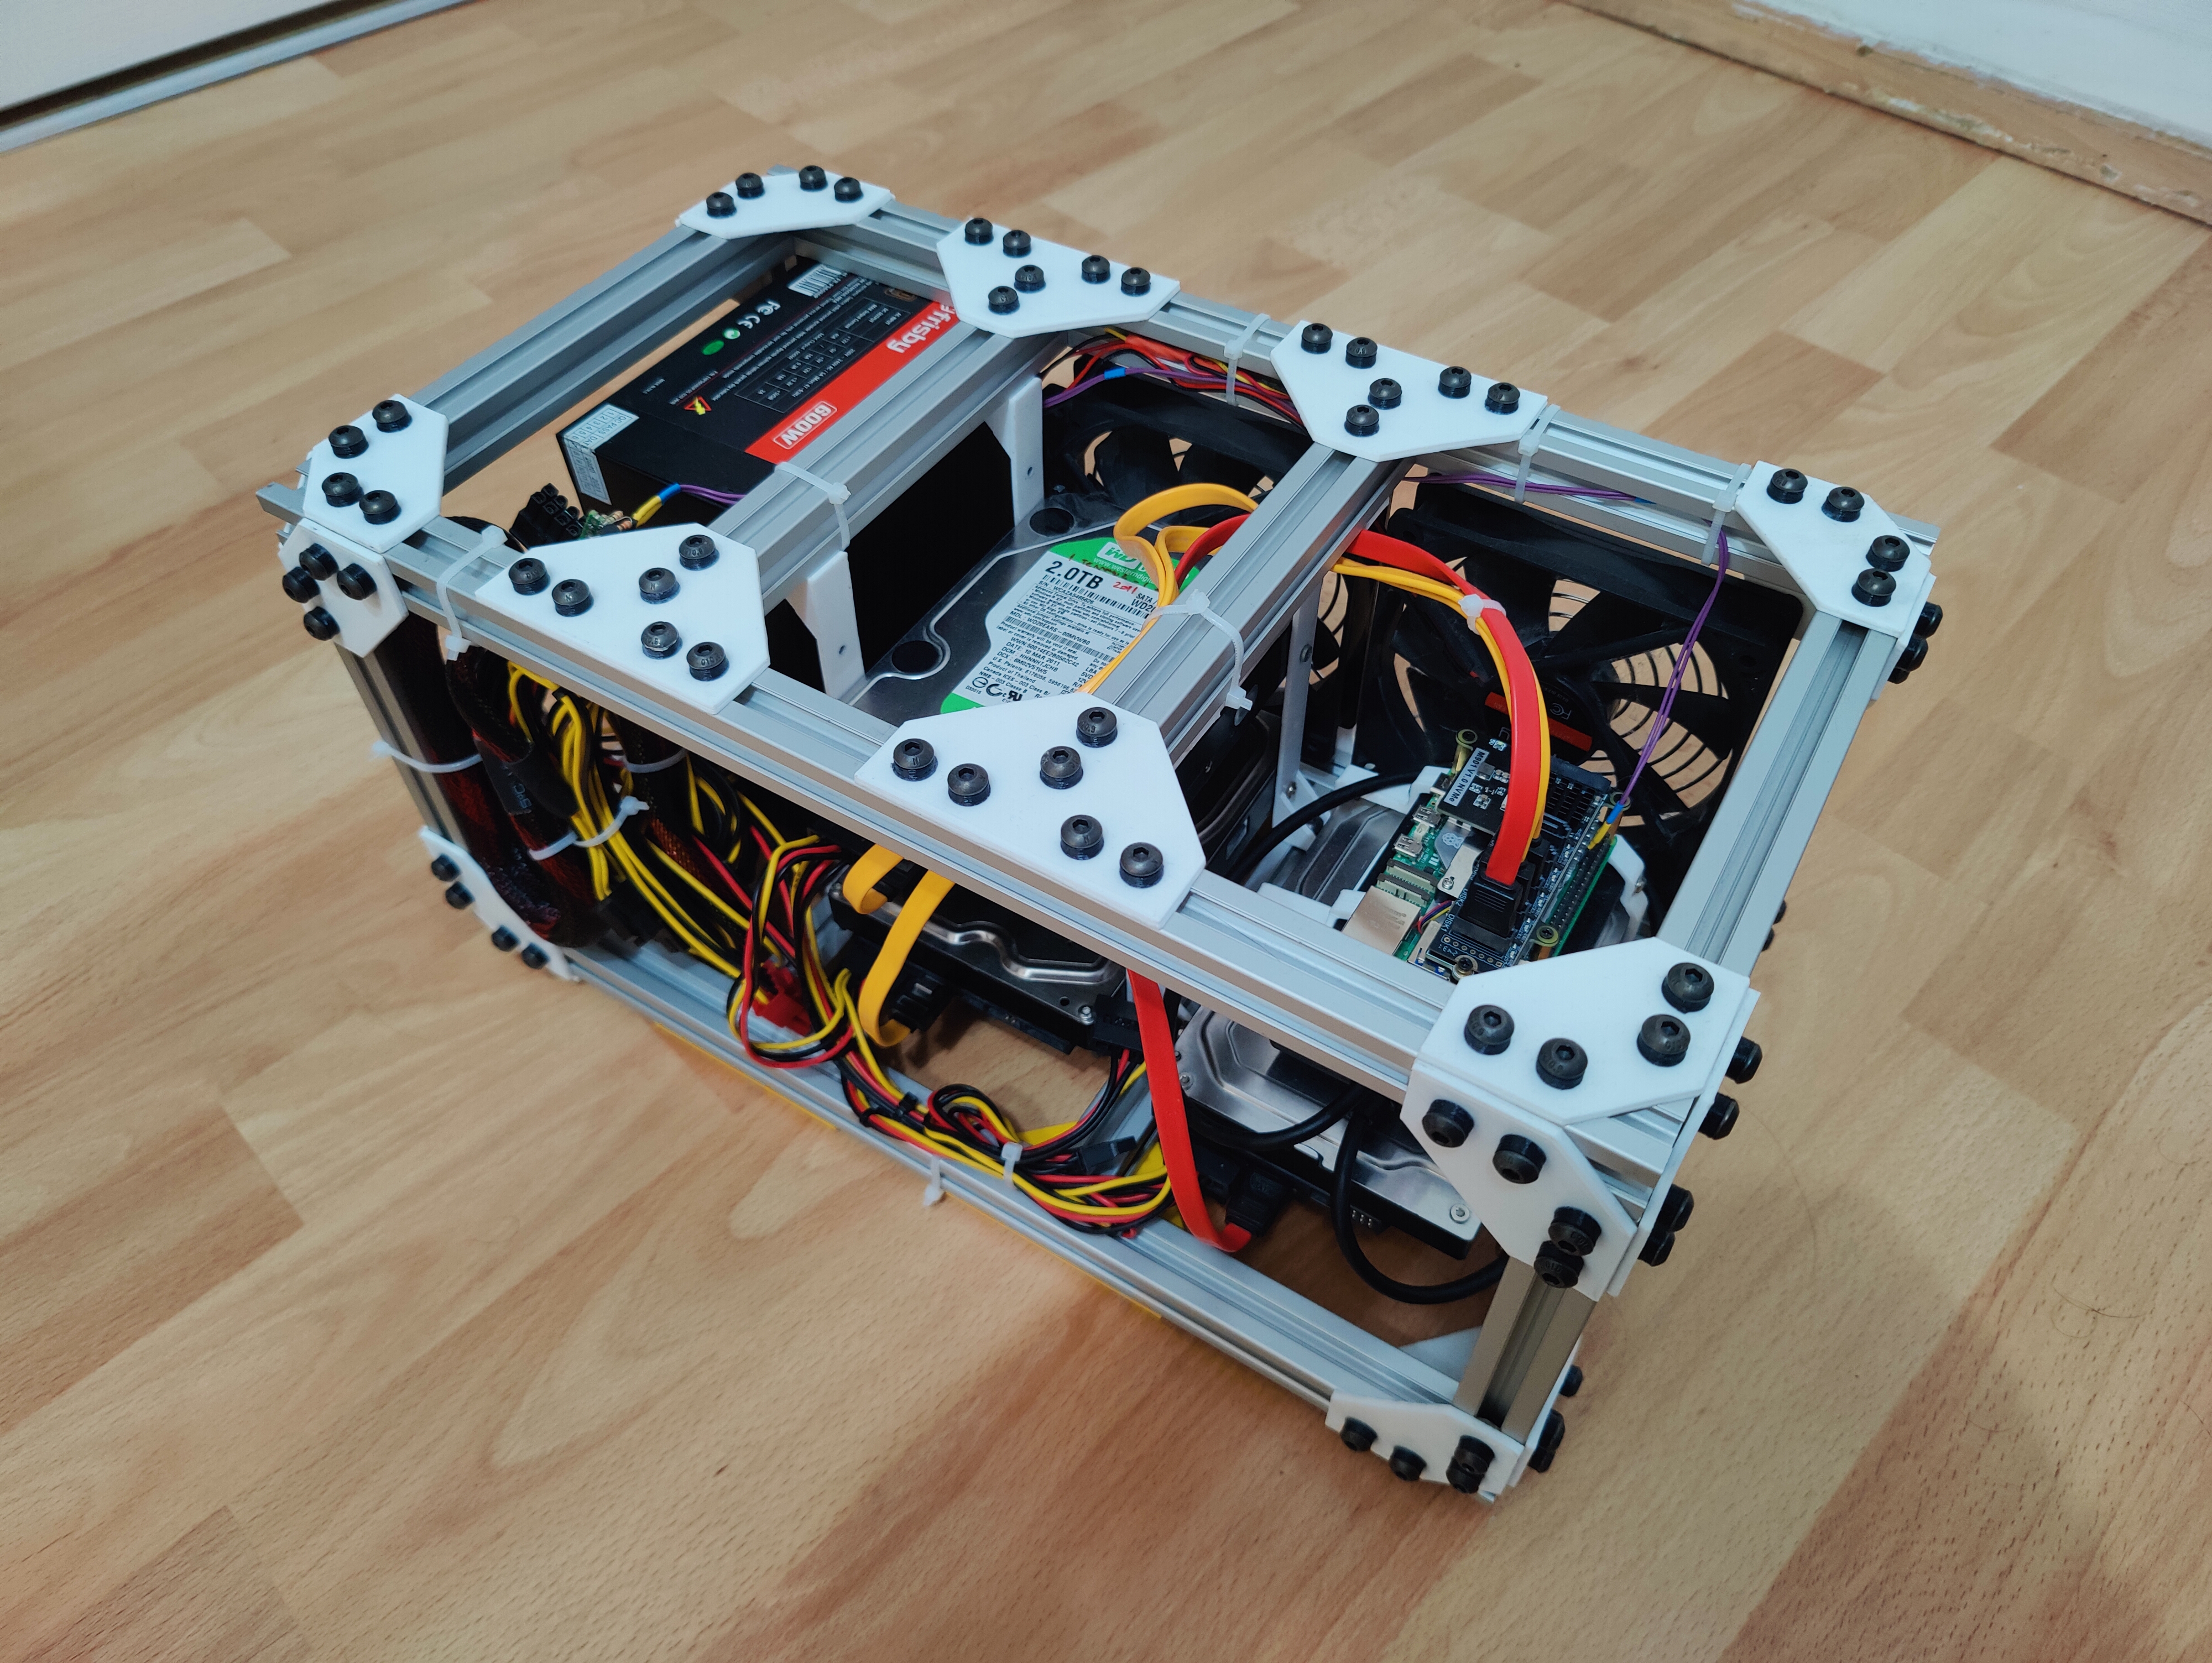
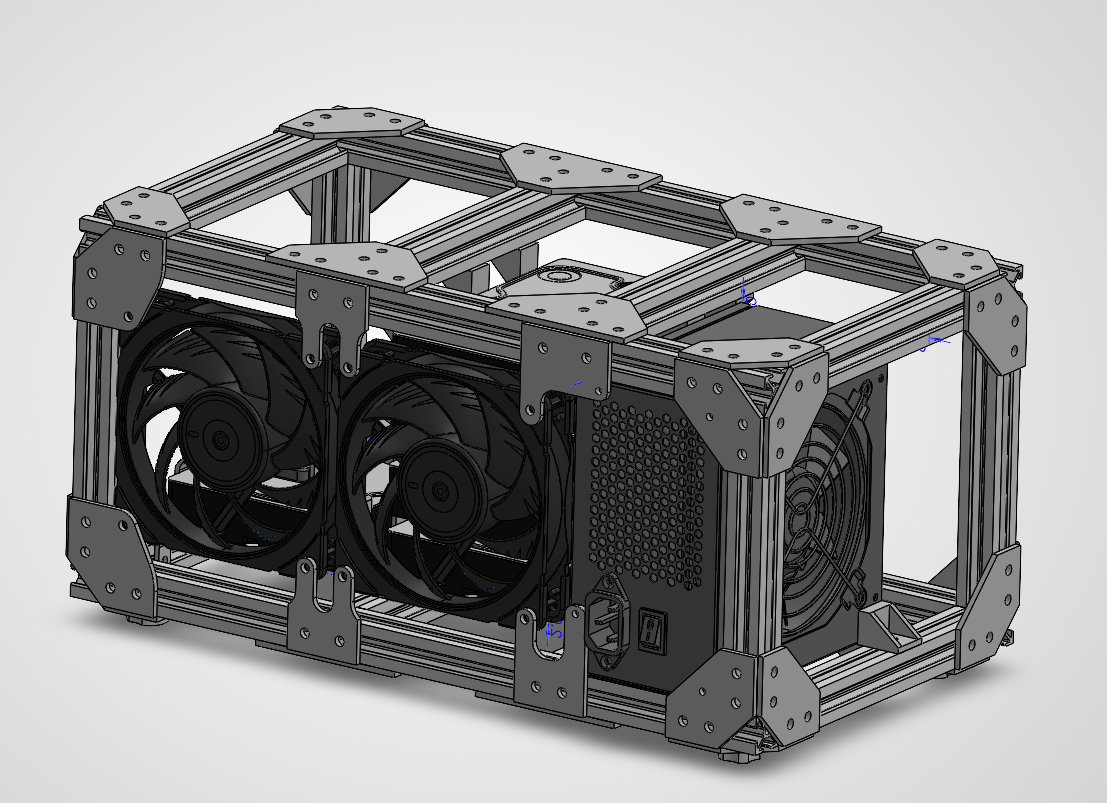
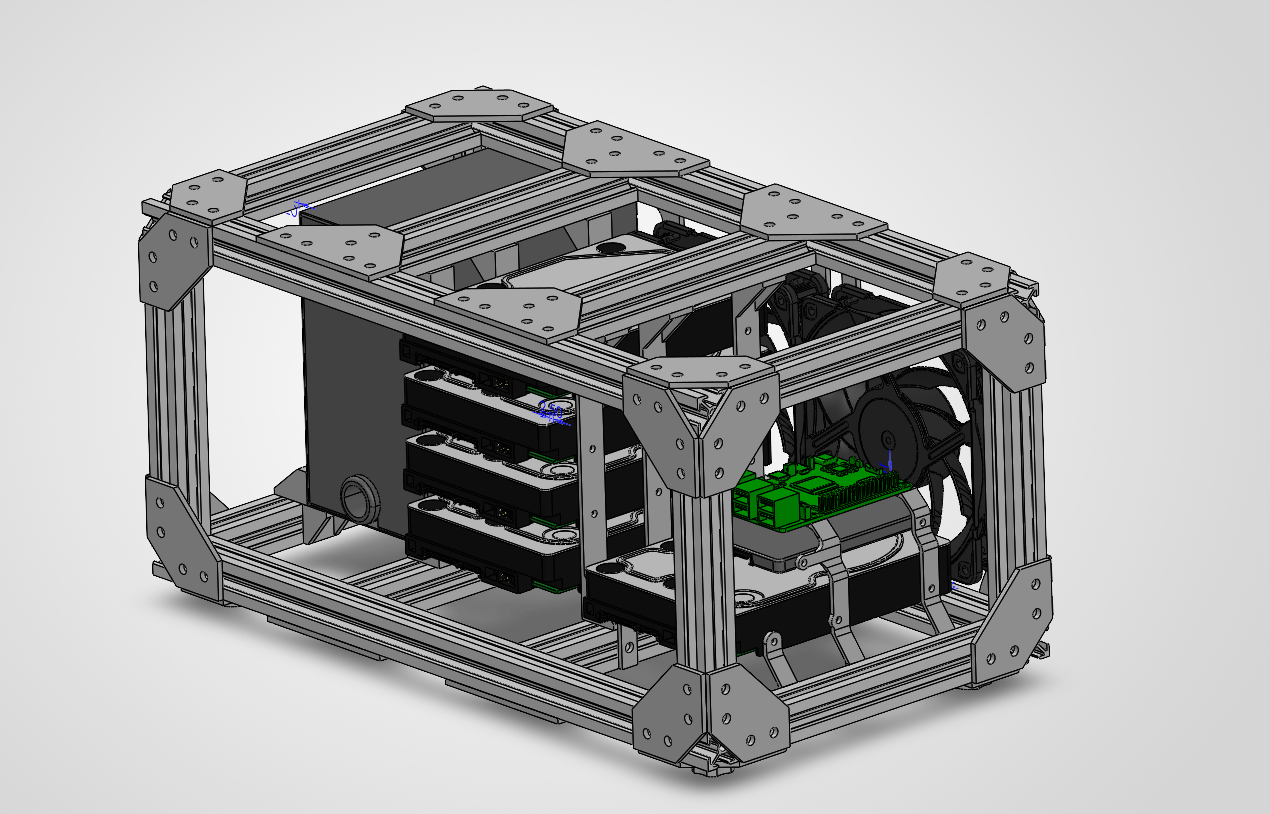
I settled on using a Raspberry Pi 5 8GB as the core. For the enclosure, I used custom CAD-designed brackets to connect aluminum sigma extrusions. It creates an industrial, rigid frame that can easily be modified later. No flimsy plastic drive cages to deal with.
Power and the GPIO hack
Power delivery is handled by a standard PC ATX power supply. Instead of relying on a sketchy always-on jumper wire, the PSU is toggled directly by the Pi using a transistor wired to the GPIO.
To make this seamless, I hooked it into the bootloader arguments so the PSU fires up as early in the boot sequence as possible. By driving the pin high immediately, it acts as a clean, hardware-level solution:
# PSU turn on pin
gpio=4=op,dh
# dtoverlay=gpio-poweroff,gpiopin=4,active_low=1
The storage pipeline and PCIe quirks
The storage setup is a bit of a Frankenstein configuration, but it works. The boot drive is a standard SATA SSD connected via USB. This keeps the OS fully responsive and leaves the Pi 5's single PCIe lane completely free for the data drives.
The PCIe lane runs into an NVMe HAT, which then connects to an NVMe-to-SATA adapter to feed two 10TB Seagate IronWolf Pro drives.
Getting the adapter (which uses the notoriously finicky JMB585 chipset) to play nice with the Pi 5 required some specific tuning in /boot/firmware/config.txt. I forced the lane to Gen 3.0 speeds to maximize throughput, but had to disable ASPM (Active State Power Management) and force 32-bit DMA to keep the controller from locking up under load:
# Enable the PCIe External connector and force Gen 3.0 speeds
dtparam=pciex1
dtparam=pciex1_gen=3

# JMB585 compatibility settings
dtoverlay=pciex1-compat-pi5,no-mip
dtoverlay=pcie-32bit-dma-pi5
pcie_aspm=off
BTRFS and my stupidity
The 10TB IronWolfs are running in a BTRFS RAID 1 array. The throughput is actually impressive, pushing over 411 MiB/s through a single PCIe lane during a scrub.
Initially, though, the array threw over 3.2 million corrected checksum errors during a scrub. BTRFS did exactly what it was supposed to do and healed the blocks on the fly without dropping a single byte of data. I originally thought the NVMe adapter was burning out under the I/O load.
It turns out the culprit was just a faulty SATA cable. I swapped the cable out, and the errors completely stopped. It was a good exercise in proving the architecture is sound and that BTRFS RAID 1 was the right choice to catch silent corruption.
Media and Services
Running a full homelab stack, including Immich, the entire *arr suite, and Samba for local shares, on the Pi 5 is smooth.
The main hurdle with using the Pi 5 as a media server is the silicon itself. The architecture completely lacks both hardware H.264 encoding and decoding. Trying to CPU-transcode media on the fly in Jellyfin is a massive waste of cycles and ruins performance.
The most practical solution was simply forcing Direct Play on all clients. Offloading the decoding to the endpoints (like smart TVs and phones) makes much more sense anyway. The NAS acts purely as a high-speed file server, keeping the Pi's CPU free to handle Immich's machine learning background tasks and the constant I/O from the *arr stack.